How to Replace a Color in Canva (What's Possible on Elements, and What Isn't on Uploads)
Canva can swap colors on vector elements one swatch at a time. On an uploaded photo or PNG there is no per-color control at all — here is the full picture, including the Duotone approximation and its limits.
Canva draws a hard line that no setting crosses. On a vector element — anything from its own library, or an SVG it parsed successfully — every colour appears as a tile in the toolbar and swapping one is two clicks. On an uploaded raster image there is no per-colour control whatsoever: no colour picker that reads pixels, no tolerance, no selection, no eyedropper-and-replace. Not a harder version of the same feature. A different situation entirely.
Almost every frustrated search for this is someone on the wrong side of that line looking for a setting that is not there. So the first move is to establish which side you are on: select the thing and look at the top-left of the toolbar. A row of small colour tiles means vector. No tiles means raster, and Method 1 will never work no matter what you click.
| What you have | Per-colour control? | Method |
|---|---|---|
| A Canva element or icon | Yes, one tile per colour | Method 1 |
| An uploaded SVG that parsed | Yes, usually | Method 1 |
| A photo | No | Method 3, or accept the limits |
| An uploaded PNG logo, one colour | No, but see | Method 2 — Duotone |
| An uploaded PNG logo, several colours | No | Method 3 — outside Canva |
| A photo, changing one object's colour | No | Canva cannot do this at all |
Method 1 — Colour tiles, on vector elements
Best for: Canva's own elements and clean uploaded SVGs.
Select the right level
One click selects the group and the toolbar shows every colour in it — good for changing all of them, useless for changing one. Double-click to drill into the individual shape, or right-click → Ungroup if you will be editing the parts repeatedly.
Click the tile holding the colour you want gone
Each distinct colour in the selection gets its own tile. The Colours panel opens on the left.
Type the replacement hex
Click the
+at the top of Document colors to open the custom picker, and use the hex field at the bottom. Dragging around the colour square gets you close and no closer, which is visible the moment the correct version is beside it.Repeat per tile
There is no equivalent of a find-and-replace across the whole design — each tile is its own edit, and an element used five times on five pages is five separate operations unless you select them all together first.
Method 2 — Duotone, the approximation for a raster logo
Best for: a single-colour raster logo, where the whole mark should become one new colour.
This does not replace a colour — it replaces all the colours. Duotone maps brightness onto two stops, and setting both to the same hex flattens everything visible into one flat colour. For a monochrome mark that is indistinguishable from the result you wanted.
Edit image, then Duotone
Select the image, click Edit image, and find Duotone in the filter list.
Apply a preset, then click it a second time
The second click opens the Highlights and Shadows swatches. There is no separate settings button.
Set both swatches to the same hex
Identical stops collapse the two-tone effect into one flat colour.
Intensity to 100
Below 100 you get a blend of your colour and the original, which will not match the brand value you typed.
Method 3 — Replace the colour outside, then upload
Best for: photos, multi-colour raster logos, and anything where you need the specific-colour control Canva does not have.
Canva has no restriction on uploading. So the practical answer for everything on the raster side of the line is to make the swap where pixels can be read, and bring the result in.
Make the swap on the file
Replacing a colour in an image takes the hex to find and the hex to put in its place, with a tolerance control for the anti-aliased edge pixels — which is precisely the mechanism Canva lacks. For a vector file, SVG colour changer does it losslessly.
If it is the same swap across many files
Batch recolor applies one setting to up to thirty files and returns a ZIP. Canva has no batch mode of any kind.
Upload and carry on
Uploads → drag the file in. It behaves like any other image, and it is now a reusable asset rather than an effect inside one design.
What goes wrong
When Canva is the wrong tool for this
For its own elements, Canva's colour tiles are the friendliest implementation of this anywhere — better than Photoshop's selection-and-fill pipeline for the simple case, and easier to find than Figma's Selection colors panel. If you are building a design from Canva's library and want the icon in your brand blue, this is two clicks and there is nothing to improve.
The line is absolute rather than gradual, and it is worth being clear that Canva is not being obtuse here — it is a design tool built around composable elements, and a photograph is not one. But that means: no per-colour control on any upload, no tolerance for the anti-aliased edges that make logo recolouring look clean or cheap, no cross-page find-and-replace, and no batch. If your input is a raster file, every route inside Canva is an approximation.
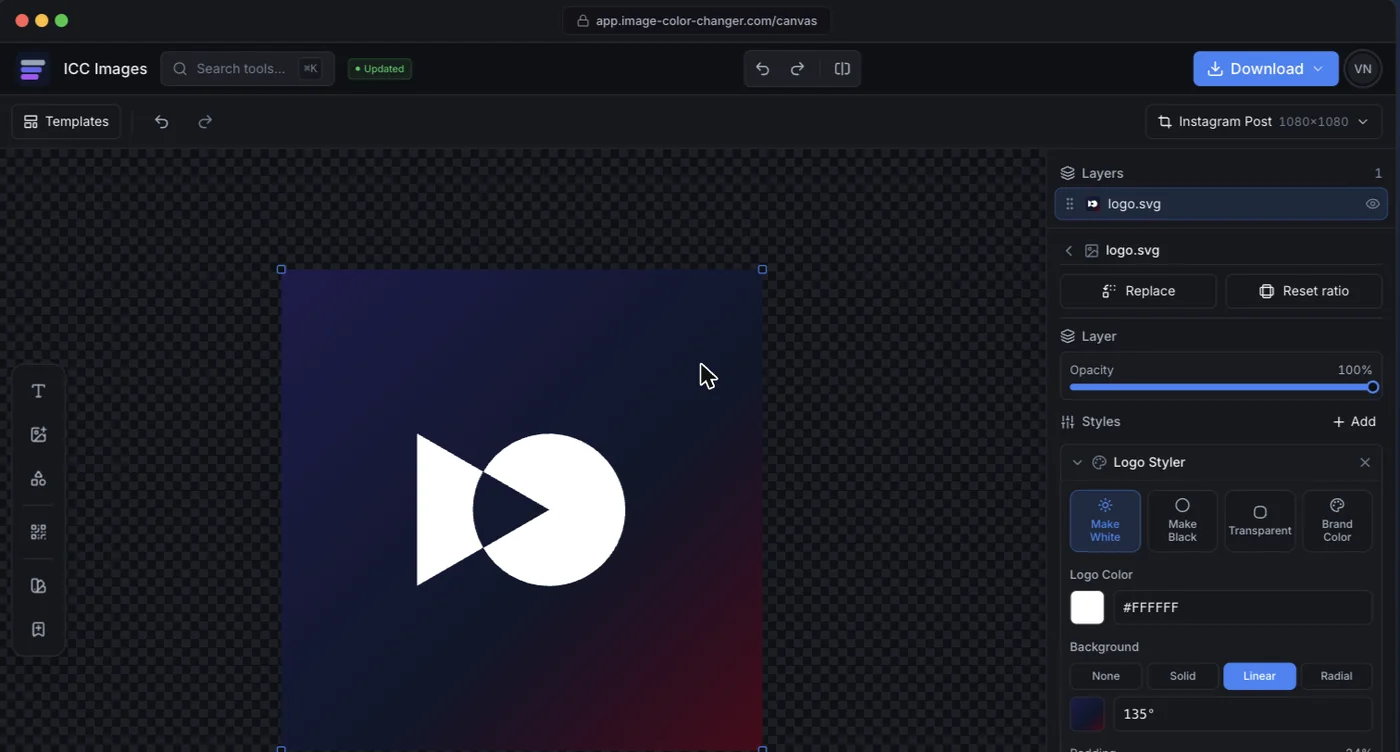
ICC Images has the operation Canva stops short of. Replace a colour in an image targets a hex on a raster file with tolerance control, SVG colour changer handles vectors losslessly, and batch recolor runs the same swap across a folder. Editing and previewing are free and need no account; full-resolution downloads need a free sign-in and spend credits.