How to Replace a Color in Figma (Selection Colors, Styles, and the Raster Dead End)
Swapping one specific color across a Figma file — the Selection colors panel, color styles, and find-and-replace plugins — plus an honest account of why it is impossible on a placed image.
Replacing one specific colour with another is the operation Figma is quietly best at — and completely incapable of — depending on one thing. On vector layers it beats Photoshop and Canva outright: Selection colors finds every instance of a hex across an entire selection and swaps them all in one edit, with no selection tolerance, no anti-aliasing artefacts, and no halo. On a placed bitmap it is not hard, not slow, and not fiddly. It is impossible.
That is worth stating plainly because a lot of time gets wasted looking for the setting. There is no colour-range selection in Figma, no eyedropper-based replace, no tolerance slider, and no plugin that does it properly — image plugins can filter or tint an image, but none can target one colour inside it and leave the rest.
So: select the thing you want to change and look at the Fill row. Swatch and hex, or thumbnail and Image?
Method 1 — Selection colors, across a whole selection
Best for: the actual job, almost always. Rebranding a screen, swapping an accent colour, fixing a shade that drifted.
Select the scope, not the layer
Select the frame, the page, or several frames at once — whatever region you want the swap to apply to. Selection colors lists every distinct fill and stroke colour inside that scope, once each, with a count of how many layers use it.
Select everything on the page with
⌘A/Ctrl+Ato do a file-wide swap.Find the colour in the list
The list is sorted by usage, so the colour you are replacing is usually near the top. Hover a row and Figma highlights the layers using it on canvas, which is how you confirm you have the right one before changing anything.
Click the swatch and type the replacement hex
Every layer using that colour updates at once. This is a true find-and-replace, not a selection — there is no tolerance, so it matches exactly and only that hex.
Check whether the row disappeared
If the old colour vanishes from the list, the swap was complete. If a row remains with a small count, some layers were using a near-identical value that is its own separate entry.
Method 2 — Colour styles, so you never do this again
Best for: any colour you will need more than once. This is the answer to "how do I avoid Method 1 next time".
A colour style is a named, shared definition. Change the style and every layer bound to it updates across every file that uses the library — no selection, no scope, no missed layers.
Create the style from a correct layer
Select a layer that already has the right colour, click the four-dot icon beside its fill, and choose the
+to create a style. Name it by role —brand/primary, notblue-500and definitely notblue.Apply it everywhere with Selection colors
Here is the trick that joins the two methods: in the Selection colors list, click the four-dot icon on a row and apply your new style to it. Every layer using that raw hex becomes bound to the style in one action.
Change the style, not the layers, from now on
Right-click the style in the local styles list, Edit style, new hex. Everything bound to it follows.
Method 3 — Plugins, for scopes Selection colors cannot reach
Best for: replacing a colour across many pages or files at once, where selecting everything is impractical.
Selection colors operates on the current selection, which means a file with twenty pages needs twenty passes. Find-and-replace-colour plugins extend the same idea across a whole document.
Search the community for a colour replace plugin
The category is well served. Look for one that reports how many layers it changed and offers a preview before committing — a plugin that silently rewrites an entire document is not one you want.
Duplicate the file first
Plugins get full write access to the document and their changes are one undo step at best. On a file that matters, work on a copy.
Verify with Selection colors afterwards
Select all, read the list, confirm the old hex is gone. Trust the audit, not the plugin's success message.
The raster dead end
If the Fill row says Image, none of the above applies, and there is no workaround inside Figma. Being specific about why saves you searching:
There is no colour-range selection. Figma has no equivalent of Photoshop's Select > Color Range or Canva's colour tiles. Nothing in the application inspects the pixels of an image.
Blend modes affect everything, not one colour. The clipped-rectangle trick tints the entire layer. It cannot distinguish the red part of a logo from the blue part.
Image adjustments are global. Figma's image fill has exposure, contrast, saturation, temperature and tint sliders. All of them apply to the whole image. Saturation to zero greys out everything; it cannot grey out one colour.
Vectorising first is a real option, if the artwork suits it. If the image is flat artwork — a logo, an icon — tracing it to SVG converts the problem into a Method 1 job permanently. PNG logo to SVG and turning a logo into a vector cover what traces cleanly. A photograph will not.
Otherwise, do it outside and re-place the image. Replacing a colour in an image targets a hex with a tolerance you control for the anti-aliased edge, which is exactly the mechanism Figma lacks. Bring the result back in and carry on.
What goes wrong
When Figma is the wrong tool for this
On vector work, Figma is the best of the three tools here and it is not particularly close. Selection colors is an exact find-and-replace with a usage count; colour styles propagate a change across every file in a project. Photoshop's equivalent is a tolerance-based mask that fights anti-aliasing at every edge, and Canva's is clicking swatches one at a time.
The dead end is absolute rather than gradual. The moment the source is a bitmap, Figma has no mechanism at all — not a slow one, not an approximate one. The honest answer is to change the colour somewhere that can read pixels, then bring the file back.
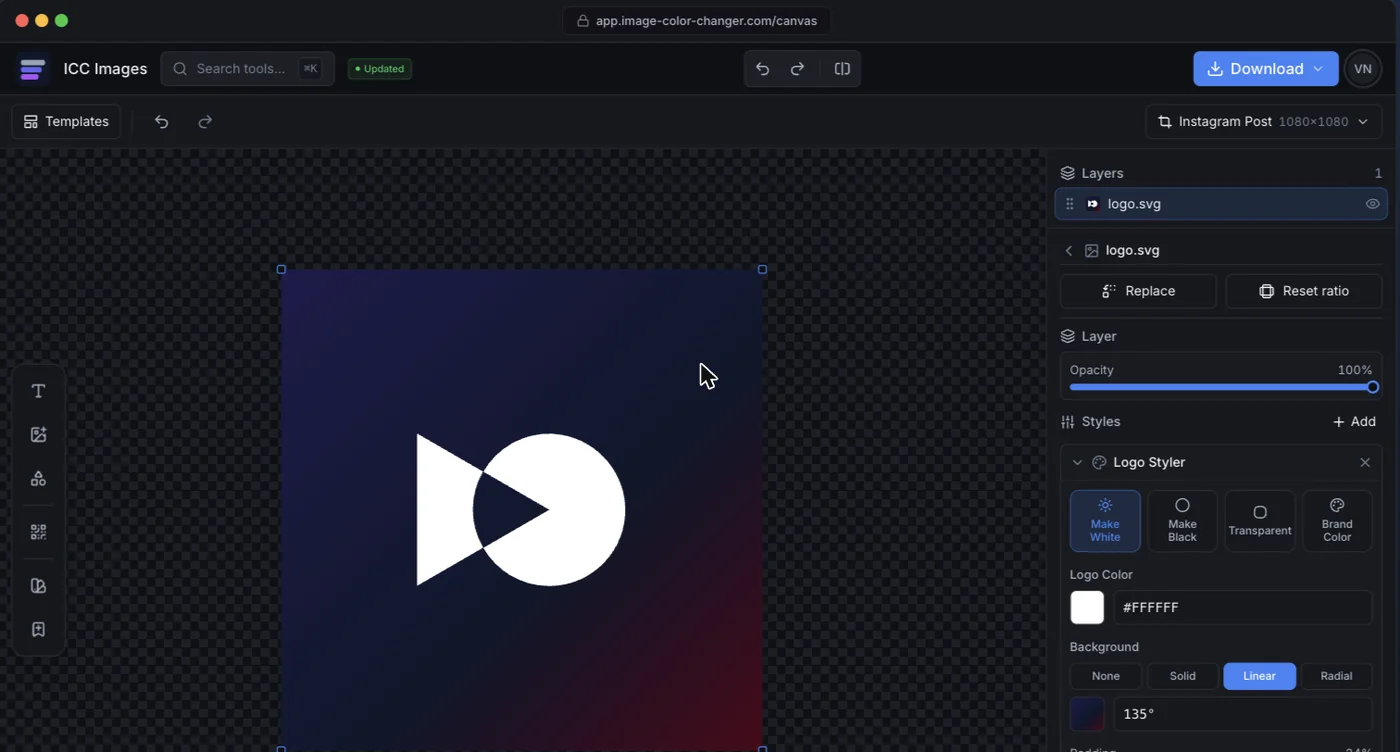
ICC Images fills exactly that gap. Replace a colour in an image targets a hex directly, with a tolerance control for the semi-transparent edge pixels. SVG colour changer does the same losslessly on vector files exported from Figma, and batch recolor applies one swap across up to thirty files. Editing and previewing are free and need no account; a full-resolution download needs a free sign-in and spends credits.