How to Remove a Background in Canva (And What the Free Plan Actually Gives You)
Canva's BG Remover is a paid feature — and so is downloading the result with transparency. Here is what works on a free account, what the two separate paywalls are, and how to get a clean cut-out either way.
There are two paywalls between you and a transparent PNG in Canva, and almost every guide mentions only the first one. Getting past BG Remover is the one people expect. The one that catches them out is at the very end: on the Download panel, Transparent background is also a paid toggle. Clear the first gate on a trial and you can still end up with your carefully cut-out logo sitting on a solid white rectangle.
So before you spend twenty minutes on this, answer one question: are you on a paid Canva plan? If yes, this is a two-click job and Method 1 is all you need. If no, Canva has no free background removal — and the honest answer is that Methods 2 and 3 are workarounds with real limits, not substitutes.
What each plan actually gives you
| Your plan | BG Remover | Transparent download | Realistic option |
|---|---|---|---|
| Canva Free | No | No | Method 3 — cut outside Canva, upload the result |
| Canva Pro / Teams | Yes | Yes | Method 1 — two clicks |
| Free, simple shape only | No | No | Method 2 — frames and masks |
| Free, and it must be transparent | No | No | Method 3 is the only honest answer |
Method 1 — BG Remover, on a paid plan
Best for: anyone on Pro or Teams. Nothing else here comes close.
Select the image and open Edit image
Click the photo once, then click Edit image in the toolbar above the canvas. The effects panel opens on the left.
Click BG Remover
It sits at the top under Background, with a crown badge. One click, a few seconds of processing, and the background is gone. There are no settings — no tolerance, no edge feather, no sensitivity.
Fix what it missed with Erase and Restore
Click BG Remover a second time and you get two brushes: Erase removes more, Restore paints the background back. Adjust the brush size with the slider. This is the only manual control Canva offers, and it is the difference between a usable cut-out and an obvious one.
Check it against a dark background
Drag a black rectangle behind the image temporarily. Fringing and leftover halo are effectively invisible on Canva's white canvas and glaring on a dark site header. Undo the rectangle when you are happy.
Method 2 — Frames and shape masks, on a free account
Best for: a subject that is genuinely a circle, a square, or one of Canva's frame shapes.
This is not background removal. It is cropping to a shape, and it is worth being clear about the difference: the background is still there, you are just hiding it behind a mask. For a round profile picture or a photo in a circular badge, that is exactly what you wanted anyway.
Find a frame
Open Elements in the sidebar and search for
frame. Canva shows circles, squares, arches, and a long tail of decorative shapes.Drag your image onto the frame
Drop the photo directly onto the frame on the canvas. It snaps inside and everything outside the shape is hidden.
Reposition inside the frame
Double-click the framed image to move and scale the photo within the mask, rather than resizing the frame itself.
Method 3 — Cut it outside Canva, then upload
Best for: free accounts, and anyone who needs the cut-out as a reusable file rather than as one element in one design.
Canva has no restriction on uploading a transparent PNG. The gate is only on producing and exporting one. So the practical route on a free plan is to do the removal somewhere that will give you the file, then bring it in.
Remove the background elsewhere
Run the image through a background remover and download the transparent PNG. For a logo specifically, making it transparent is the more precise tool — it targets a colour rather than guessing at a subject, which is what you want on flat artwork.
Check the edges before you upload
Zoom in on the cut line at 400%. Halos and coloured fringes are much easier to fix now than after the file is embedded in six designs. Our guide to fixing blurry or fringed PNG edges covers what causes them.
Upload to Canva
Sidebar → Uploads → drag the PNG in. Transparency is preserved on upload regardless of plan, and the file is then reusable across every design in your account.
What goes wrong
When Canva is the wrong tool for this
Canva is a design tool that added background removal, and it shows in a specific way: the removal is a step inside a document, not a file operation. That is genuinely fine when you are building a social post and one product shot needs its background dropped. It is the wrong shape when the deliverable is the cut-out itself, when you have more than a handful of images, or when you are on the free plan — where the answer is simply that the feature is not available to you.
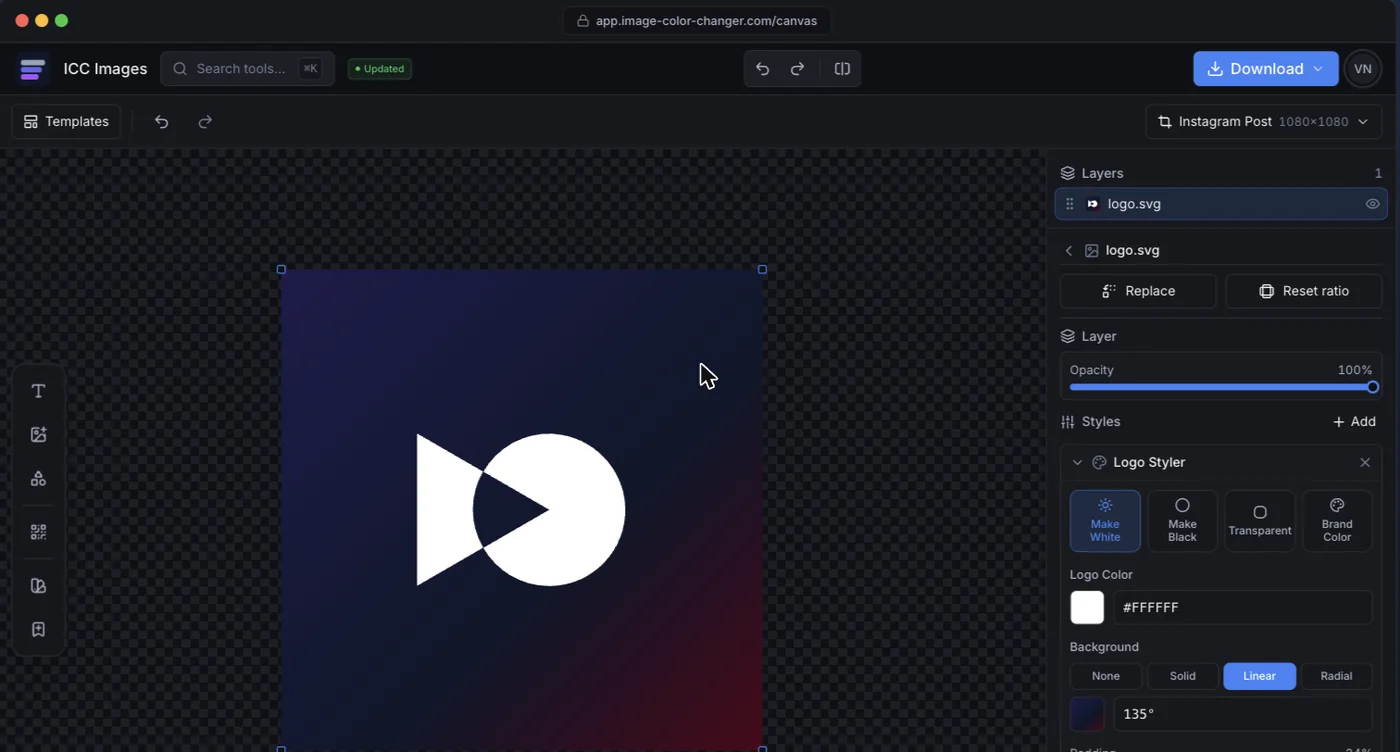
ICC Images treats it as a file operation. Upload, remove the background, and download a transparent PNG. Editing and previewing are free and need no account; a full-resolution download needs a free sign-in and spends credits, and AI removal is pay-per-use rather than a monthly subscription — which is the relevant difference if you need this four times a year rather than four times a week. For flat artwork, making a specific colour transparent is more precise than any AI subject detection, because it targets a hex instead of guessing.