How to Change a Logo Color in Canva (4 Methods, Step by Step)
How to recolor a logo in Canva: the toolbar colour tiles, uploading an SVG so they appear, Duotone for flat PNGs — and the export settings that ruin it.
Everything about recoloring a logo in Canva comes down to one question, and you can answer it in two seconds: select the logo and look at the top-left of the toolbar. If a row of small color tiles appears, Canva is treating your logo as vector artwork and changing its color is a two-click job. If no tiles appear, Canva sees a flat image, the color tiles will never show up no matter what you click, and you need a different approach entirely.
That single distinction explains almost every frustrated search for this. Most tutorials show you the tiles, most people uploaded a PNG, and the two never meet. This guide covers both paths — four methods in total, in the order you should try them.
If you have a logo file sitting on your computer, read Method 2 first. Getting an SVG into Canva rather than a PNG turns the hard version of this problem into the easy one, and it takes about as long as the upload itself.
First: what does Canva actually see?
Click your logo once and check the toolbar. Then find your situation in this table.
| What you have | What Canva sees | Best method |
|---|---|---|
| A logo you built in Canva from elements or a template | Vector elements, fully editable | Method 1 — color tiles |
An .svg file you uploaded | Vector element, usually editable | Method 2 — upload as SVG |
A .png or .jpg you uploaded | A flat image. No tiles, ever | Method 3 — Duotone |
| A single-color (black or white) PNG | A flat image, but an easy one | Method 4 — blend mode |
| A multi-color PNG where you want to change one color | A flat image with no per-color control | Neither works well — see below |
| A JPG with the logo on a white background | A flat image and a background problem | Fix the background first |
Method 1 — Color tiles, for a logo built in Canva
Best for: a logo assembled from Canva elements, or one of Canva's logo templates.
This is the case every tutorial shows, and when it applies it genuinely is as easy as it looks. Each color inside the selected element gets its own tile in the toolbar; clicking one opens the Colors panel and whatever you pick is applied immediately.
Select the right thing
Click the logo once. If it was built as a group, one click selects the whole group and the toolbar shows every color in it — useful when you want to change them all, useless when you want to change one. Double-click to drill into the group and select the individual shape, or right-click and choose Ungroup if you'll be editing the parts repeatedly.
Open the color tiles
The tiles sit at the far left of the toolbar above the canvas, one per color. Click the one holding the color you want to replace.
Pick the new color
The Colors panel opens on the left. It's organised into Document colors (already used in this design), Brand Kit, Photo colors (sampled from images in the design), and Default colors. Click any swatch to apply it live.
Or type an exact hex
Click the + tile at the top of the Document colors row. That opens the custom color picker, and at the bottom of it is a field that accepts a six-digit hex. Type your brand value and press Enter — this is the only way to be sure you got the exact color rather than something adjacent to it.
Method 2 — Upload your logo as an SVG so the tiles appear
Best for: any logo you have as a file, if you can get hold of a vector version.
This is the method worth knowing, because it converts your problem into Method 1. Canva treats an uploaded SVG as vector artwork rather than as an image: drop one on the canvas, select it, and the color tiles are there.
Get an SVG version of the logo
If your designer sent you an
.ai,.eps, or.pdf, ask for an SVG — it's a ten-second export for them. If all you have is a PNG, you can convert it; our guides on PNG logo to SVG and turning a logo into a vector cover what converts cleanly and what doesn't.Upload it
In the editor sidebar, open Uploads and drag the
.svgin, or use the Upload files button. SVG upload works on a free Canva account; SVG export is the part that needs a paid plan.Drag it onto the canvas and check the toolbar
Select it. If the color tiles appear, you're done — go back to Method 1 and pick your color. If they don't, your SVG is too complex for Canva to parse into editable fills; see the note below.
Method 3 — Duotone, for an uploaded PNG or JPG
Best for: a raster logo you can't get as a vector, when the whole mark should become a single color.
Duotone maps an image's brightness onto two colors — the light pixels take the Highlights color and the dark pixels take the Shadows color. Set both to the same hex and the two-tone effect collapses into one flat color, which is exactly what you want for a logo.
Open the effect
Select the image and click Edit image in the toolbar, then find Edit imageDuotone in the list of effects. Canva shows a row of presets — Ocean, Sepia and so on.
Open a preset's settings
Click a preset to apply it, then click it a second time to open its color controls. You'll get Highlights and Shadows swatches.
Set both swatches to the same hex
Click Highlights, enter your brand hex in the custom color field, and do the same for Shadows. Different values give you a gradient across the mark; identical values give you a flat brand color.
Push Intensity to 100
Anything below 100 blends the effect with the logo's original colors, so the result is near your brand color rather than your brand color. If you're matching a hex, this slider belongs at the top.
Method 4 — Blend modes, for a black or white logo
Best for: a monochrome mark, when Duotone's edges look soft or you want to keep the original layer intact.
Blend modes are tucked away where nobody looks for them: they're inside the Transparency popover, not under Edit image. The trick is to lay a colored rectangle over the logo and choose a blend mode that only paints where the logo's pixels are.
Place the logo and a rectangle
Add your logo to the canvas. Then open Elements, add a plain square or rectangle, and give it your brand color using the toolbar color tile.
Cover the logo with the rectangle
Resize the rectangle so it fully covers the logo, and make sure it sits above it — right-click and use LayersBring to front if it doesn't.
Set the blend mode
With the rectangle selected, click the Transparency icon in the toolbar. Below the transparency slider is a dropdown that reads Normal by default. Choose Screen for a black logo, or Multiply for a white logo on a dark background.
Group the result
Select the logo and the rectangle together, then hit the Group button that appears in the toolbar — or press
⌘G/Ctrl+G— so they stay aligned when you move things around.
Getting the exact brand color, not "close enough"
A logo that's almost the right blue is worse than one that's obviously wrong, because nobody notices until it sits next to the real thing. Three habits:
Type the hex, don't drag to it. Every color control in Canva ends in a custom picker with a hex field. Dragging around the color square gets you within a couple of percent and no closer, and a couple of percent is visible when the correct version is on the next slide.
Put the values in a Brand Kit. Canva's free plan includes a basic Brand Kit (the full version is a Pro feature); add your palette there and it appears at the top of the Colors panel in every design, so you stop re-typing hex codes from a screenshot of an email. If you'd rather keep the values somewhere that isn't tied to one tool, our color picker reads the exact hex out of an uploaded logo so you can store the palette wherever you keep it.
Check what "Photo colors" is telling you. When an image is in the design, Canva lists the colors it sampled from it. Handy for matching, but they're sampled values — on an anti-aliased logo edge they'll be a blend of the mark and whatever is behind it, not the true brand color. To pull an exact value out of an existing asset, an online color picker reads it from the file itself.
Exporting without wrecking it
You can get the color perfect and still ship a broken file. The Download panel decides that.
Choose PNG, never JPG. JPG has no alpha channel, so transparency is impossible, and its compression produces visible halos along exactly the high-contrast edges a logo is made of.
Transparent background is a paid feature. On a free account, your logo downloads on a white rectangle — which looks fine on a white page and shows up as an obvious white box the moment it lands on a colored header, a dark hero section, or a photo. This is the single most common Canva logo-export complaint, and there is no free workaround inside Canva.
Leave "Compress file" unchecked. It trades quality for size, and at logo dimensions the saving is meaningless next to the artefacting.
SVG export needs a paid plan too. If you need a scalable version out of Canva, that's the gate.
Remember the recolor doesn't travel. Whatever you export is flattened. The next time you need the same logo in a different color, you're redoing the work, not opening a file and changing one value.
What goes wrong
Eight things, in roughly the order we see them.
When Canva is the wrong tool for this
Canva is very good at the design around a logo — the social post, the deck, the flyer, the pitch document. If you're already building that and the logo is one element inside it, recoloring it there is obviously right.
But if the task is simply producing color variants of a logo you already have, Canva's model works against you. It's built around designs, not around files: the recolor lives inside a document, the transparent export is behind a subscription, and a raster logo has no per-color control at all. Four methods, a plan gate on the export, and a file-format prerequisite is a lot of overhead for what is conceptually one decision — which color.
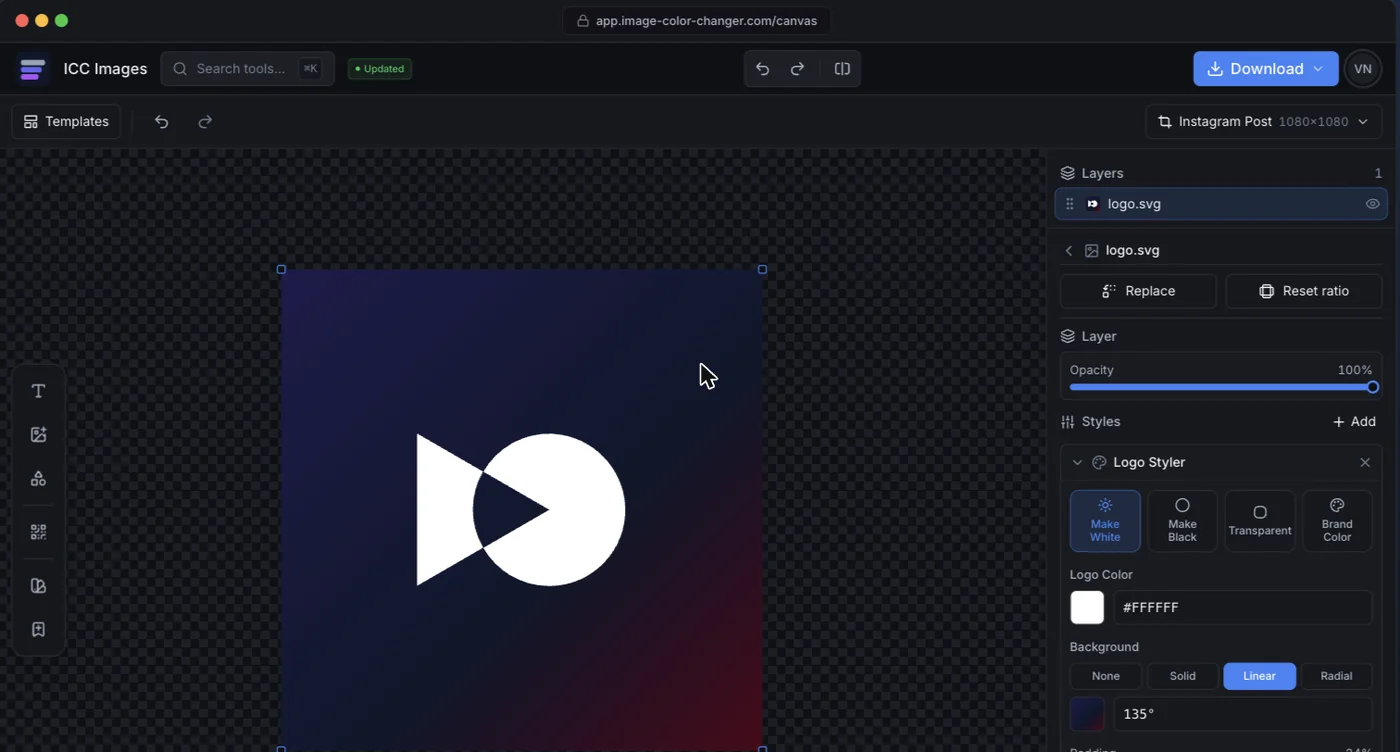
That's the gap ICC Images is built for. Upload the logo — PNG included, no vector conversion required — pick a color or hit make it white or black, and export with transparency intact. Editing and previewing are free and don't need an account; downloading a full-resolution file needs a free sign-in and spends credits, and AI operations like background removal are pay-per-use rather than a monthly commitment.