How to Make a Logo White in Photoshop (3 Methods, One of Them Non-Destructive)
Color Overlay, Lock Transparent Pixels, and why Hue/Saturation is the wrong tool even though Lightness looks like it works — plus the fringe that makes a white logo look dirty on a dark background, and how to remove it.
There is one trap specific to white, and it catches people who already know Photoshop well: Hue/Saturation is the wrong tool here, and not for the reason most people assume.
Reach for it on a black logo and the Hue and Saturation sliders do nothing at all — pure black has no chroma to shift, so there is nothing for them to act on. Lightness will get you to white, which is why this looks like it works. What it actually does is lighten every pixel uniformly, and that includes the semi-transparent pixels along the anti-aliased edge. The mark goes white and its edge goes soft grey, so the result reads as slightly blurred against a dark background. It is also baked into the pixels.
The methods that do work all share an approach: rather than lightening what is there, they paint white into the shape the logo occupies, leaving the edge's alpha untouched. Which one you pick depends mostly on whether you want to be able to change your mind.
And before you start — put a dark layer underneath. A white logo on Photoshop's default white canvas is invisible, and half the confusion in this task is people debugging an edit that already worked.
| What you have | Method |
|---|---|
| A transparent PNG, and you want it reversible | Method 1 — Color Overlay |
| A transparent PNG, and you want it baked in | Method 2 — Lock Transparent Pixels |
| A logo on a white or coloured background | Remove the background first, then Method 1 |
| A vector smart object or shape layer | Method 3 — change the fill directly |
| Any of the above, and the edges look dirty | See "the fringe" below |
Method 1 — Color Overlay, the non-destructive one
Best for: almost every case. It is reversible, it takes ten seconds, and the same layer style gives you black next.
Add a dark layer underneath
New layer, fill it
#111111, drag it below the logo. Do this first.Open Layer Style
Double-click the logo layer in the Layers panel — on the layer itself, not its name — and choose Color Overlay from the list on the left.
Set the colour to FFFFFF
Click the colour swatch, type
FFFFFFin the hex field. Blend Mode stays Normal and Opacity stays 100% — anything else gives you grey.Confirm the transparency is intact
Color Overlay only paints where the layer has pixels. If your logo's background comes out white too, the layer was never transparent — see the note below.
Method 2 — Lock Transparent Pixels
Best for: when you want the white baked into the pixels — flattening for handoff, or preparing a file that will not be reopened.
Select the logo layer
It must already have transparency.
Click Lock Transparent Pixels
The first of the four small lock icons at the top of the Layers panel — a checkerboard square. With it on, painting only affects pixels that already have some opacity.
Set the foreground to white and fill
DthenXsets the foreground to white. Then⌥⌫/Alt+Backspacefills the layer with the foreground colour — but only where pixels exist.
Method 3 — Change the fill on a vector layer
Best for: a logo that arrived as a shape layer, a vector smart object, or a placed AI/EPS/SVG.
If the Layers panel shows a shape layer, this is not an image-editing problem at all. Double-click the layer's colour thumbnail and type FFFFFF. The result is resolution-independent and stays crisp at any size — no overlay, no fill, no edge concerns.
If it is a smart object containing vector artwork, double-click it to open the contents in a new tab, change the fills there, save, and the parent updates.
The fringe: why a white logo looks dirty on dark
This is the part that separates a white logo that works from one that looks slightly wrong and nobody can say why.
If the logo was originally cut out against a white background, its semi-transparent edge pixels still carry white — invisible when the mark was dark, and invisible again once the mark is white. Fine.
If it was cut out against a coloured or dark background, those edge pixels carry that colour. Turn the mark white and every edge now has a thin rim of the old background. On a dark hero section it reads as a grey or coloured halo around white type.
The fix, in order of preference:
Layer > Matting > Defringe at 1–2 px. This replaces edge pixel colours with those of nearby non-edge pixels. On a layer that is now white, that means the fringe becomes white. Fastest fix and usually sufficient.
Select and Mask with Decontaminate Colors, if you still have the original cut-out stage. Better, because it addresses the cause rather than the symptom.
Contract the selection. Load the layer as a selection, SelectModifyContract by 1 px, invert, delete. Blunt, and it slightly thins the mark, but it is decisive when the fringe is stubborn.
Exporting
PNG via Export As. FileExportExport As⌥⇧⌘W with Transparency ticked. Save As will happily hand you a flattened file with a white background, which for a white logo means a file that looks entirely empty.
Export at 2x for screen. Set the scale in the Export As dialog rather than resizing the document.
Never JPG. No alpha channel. A white logo as JPG is a white rectangle.
Check the thumbnail is not the whole story. A white PNG shows as blank in Finder, in Explorer, in every email client and in Photoshop's own Open dialog. Assume it looks empty everywhere and verify once, deliberately, on a dark layer.
What goes wrong
When Photoshop is the wrong tool for this
Color Overlay is genuinely good. It is non-destructive, it is copyable between layers, and it makes the white and black versions two states of one setting rather than two separate files — which is more than Canva's Duotone or Figma's blend-mode construction can say.
What Photoshop does not solve is the shape of the job. Producing a white logo is rarely a one-off: it comes with black, transparent, a favicon, and several sizes, and Photoshop's answer to that set is to repeat the export dialog until it is done. Add the prerequisite that the file must already be transparent — itself a whole workflow — and a task that is conceptually "make this white" has become a small project.
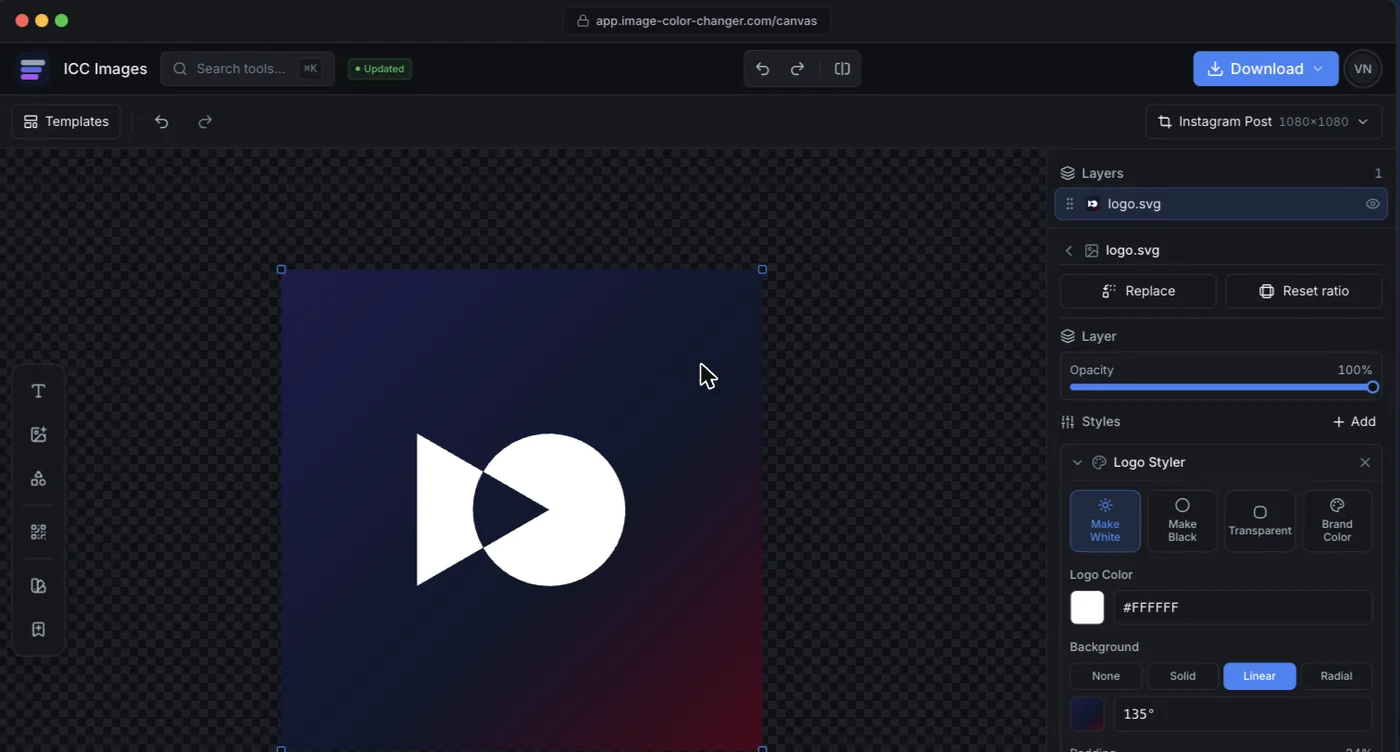
ICC Images treats the variant set as the unit of work. Upload the logo, make it white or black, make the background transparent if it is not already, and export — with the edits staying re-editable so a different size or colour later does not mean starting again. Logo to single colour covers the one-ink versions embroidery and engraving ask for. Editing and previewing are free and need no account; a full-resolution download needs a free sign-in and spends credits.