How to Make a Logo White in Canva (And Get It Out With a Transparent Background)
Four ways to turn a logo white in Canva — color tiles on vector, Duotone on a PNG, the Screen blend mode, and uploading a ready-made white version — plus the export setting that decides whether any of it survives.
Making a logo white in Canva is two problems wearing one coat, and people usually solve the first without noticing the second.
The first is turning the mark white — four ways below, and at least one of them will fit what you have. The second is getting a white logo out of Canva as a file, which needs the transparent-background export, which is a paid feature. A white logo on a white background is an empty rectangle, so unlike every other colour, white makes the export gate unavoidable rather than merely annoying. If you are on a free account, read Method 4 first.
Before anything else: add a dark background to your Canva page. A white logo on Canva's white canvas is invisible, and you will otherwise spend several minutes debugging an edit that worked.
Which method fits what you have
| Your logo | White it with |
|---|---|
| Built from Canva elements, or a clean uploaded SVG | Method 1 — colour tiles |
| An uploaded PNG, any colours, transparent background | Method 2 — Duotone |
| An uploaded PNG that is solid black | Method 3 — Screen blend mode |
| A PNG with a white or coloured background | Fix the background first, then Method 2 |
| Anything, and you are on a free plan and need a file | Method 4 — bring in a finished white PNG |
Method 1 — Colour tiles, for vector
Best for: a logo made from Canva elements, or one you uploaded as an SVG that Canva parsed properly.
Give the page a dark background
Click the empty canvas, then the background colour tile, and pick something dark. Undo it at the end if the final design needs a different one.
Select the logo and find the colour tiles
Top-left of the toolbar. One tile per colour in the selection. If there are no tiles, Canva is treating your file as a flat image — go to Method 2.
Set every tile to FFFFFF
Click each tile, then the
+in the Colours panel, and typeFFFFFF. Repeat until every tile is white.Shift-click for multi-element lockups
If the mark, wordmark and tagline are separate elements, shift-click all three and the tiles apply across the whole selection at once.
Method 2 — Duotone, for a raster logo
Best for: an uploaded PNG with a transparent background, in any number of colours.
Duotone maps brightness onto two colours. Set both stops to white and every visible pixel becomes white regardless of what colour it started as — which is exactly what you want here, and is the one case where Duotone's inability to distinguish colours is an advantage.
Select the image, then Edit image
The effects panel opens on the left. Duotone is in the filter list — Edit imageDuotone.
Apply any preset, then click it again
The second click on the applied preset opens its Highlights and Shadows colour controls. This is the step nobody finds first time.
Set Highlights and Shadows both to FFFFFF
Click each swatch,
+, typeFFFFFF. Identical stops collapse the two-tone effect into one flat colour.Push Intensity to 100
Below 100 you are blending white with the logo's original colours, and the result is a pale version of the old logo rather than a white one. This is non-negotiable for white specifically, because anything less reads as grey.
Method 3 — Screen blend mode, for a black logo
Best for: a solid black mark, when you want to keep the original layer intact.
Blend modes are inside the Transparency popover, not under Edit image — which is why almost nobody finds them.
Add a white rectangle over the logo
Elements → a plain square. Set its colour to
FFFFFFand resize it to cover the logo completely.Make sure it sits above the logo
Right-click → LayersBring to front if it does not.
Set the blend mode to Screen
With the rectangle selected, click the Transparency icon in the toolbar. Below the slider is a dropdown reading Normal. Choose Screen.
Group the two
Select both and press
⌘G/Ctrl+Gso they stay together when anything moves.
Method 4 — Upload a finished white PNG
Best for: free accounts, and anyone who wants the white logo as a reusable asset rather than as a state inside one design.
Canva never restricts uploading a transparent PNG. The gate is only on producing and exporting one. So the reliable route on a free plan is to make the white version elsewhere, once, and then use it everywhere.
Produce the white version as a file
Make the logo white from whatever you have — PNG or SVG, transparency preserved. While you are there, black is worth doing in the same pass, because you will need it.
Check it against dark before you upload
A white PNG looks blank in every file browser thumbnail you will ever see. Confirm it once, deliberately, on a dark background.
Upload to Canva and reuse forever
Uploads → drag it in. Transparency survives upload on any plan, and the file is then available in every design in your account with no per-design fiddling.
Exporting: the part that decides everything
PNG, never JPG. JPG has no alpha channel. A white logo exported as JPG is a white rectangle, full stop.
Transparent background is a paid toggle. On a free account the download has a white background — and a white logo on a white background is a file that appears empty everywhere. This is the reason white is the variant that forces the plan question.
Check for a stray white shape. Even with the toggle ticked, a white rectangle you added early on, or a white page background colour, will export as background. Click the empty canvas and check its colour.
Leave "Compress file" unchecked. At logo dimensions the saving is meaningless next to the edge artefacting.
What goes wrong
When Canva is the wrong tool for this
If you are building a design in Canva and one logo inside it needs to be white, do it there. Method 1 is two clicks on vector, Method 2 handles raster, and there is no reason to leave.
If what you need is a white logo file — for a website header, an email signature, a partner's media kit, a conference organiser who asked for "the white version" — Canva is the wrong shape for the task, and specifically so for white. The recolour lives inside a document, the export that would make it a file is behind a subscription, and the file you would get is a flattened one-off rather than something you can regenerate at a different size next month.
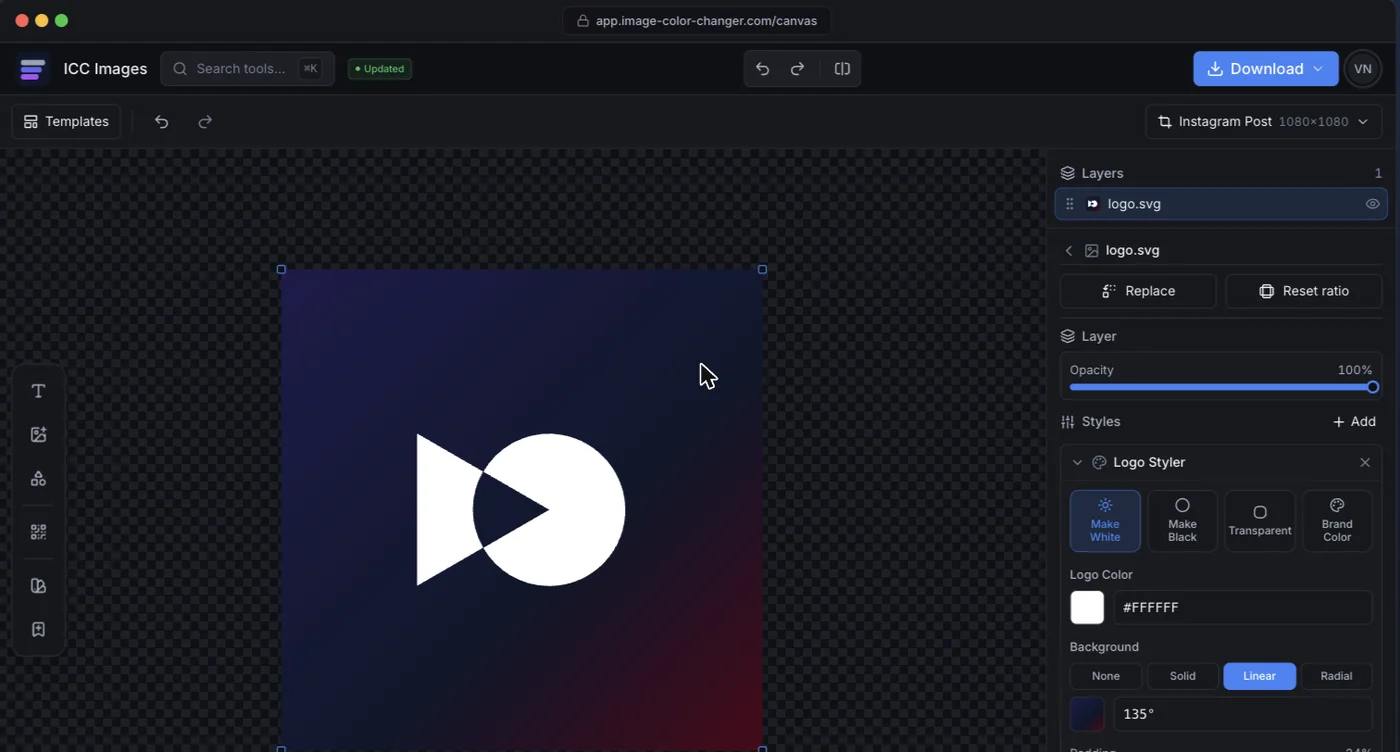
ICC Images makes this one control. Upload the logo, make it white, download with transparency intact — no plan gate on the export, and the edit stays re-editable so the black version is one click away rather than a repeat of the whole process. Editing and previewing are free and need no account; a full-resolution download needs a free sign-in and spends credits.