How to Make a Logo White in Figma (Vector, Raster, and the Component Case)
Three routes to a white logo in Figma — the Fill row, Selection colors across a whole lockup, and a Screen-blended rectangle for placed PNGs — plus why the exported white logo looks invisible when you check it.
A white logo is the one variant nearly every brand needs and nearly nobody has ready. It goes on the dark hero section, the footer, the photo overlay, the conference badge — and the moment you need it, you discover the only file you own is the dark-on-light version.
In Figma the job takes fifteen seconds or it takes fifteen minutes, and the fork is the same one that governs every colour operation here: is the logo made of vector layers, or is it a placed image? Select it and look at the Fill row. A swatch and a hex means vector. A thumbnail and the word Image means you are heading for Method 3.
There is one wrinkle specific to white that does not apply to other colours, and it catches everyone at least once: you cannot see a white logo on Figma's default canvas. Put a dark rectangle behind it before you start, or you will spend a while convinced the operation failed.
Method 1 — Fill on a single vector layer
Best for: a one-shape mark.
Put something dark behind it first
Press
R, draw a rectangle, fill it#111111, and send it behind with⌘[/Ctrl+[. Do this before anything else. Figma's canvas is light grey and a white logo on it is genuinely invisible.Select the shape, not the frame
Hold
⌘/Ctrland click to reach the vector layer directly rather than double-clicking down through each group level.Set the fill to FFFFFF
Click the fill swatch, type
FFFFFFin the hex field, Enter.Check the opacity
The percentage beside the hex must read 100%. White at 85% over a dark background is light grey, and it will not match the white type sitting next to it.
Method 2 — Selection colors, for a full lockup
Best for: a mark plus wordmark plus tagline, which is most real logos.
Select the whole group rather than a layer inside it, and the Selection colors section lists every colour in the selection once each. For a white version you are collapsing that list to a single entry.
Select the outer group
One click. This section only appears when the selection contains more than one layer.
Change every row to FFFFFF, one at a time
Work down the list. Each edit updates every layer that used that colour. A four-colour logo is four edits regardless of how many layers it contains.
Watch the list collapse
As colours become identical, Figma merges the rows. When one row remains reading
FFFFFF, every layer is white. If two rows remain and both look white, one of them is#FEFEFEor similar — a near-white that will read as dirty against true white type.
Method 3 — A Screen-blended rectangle, for a placed PNG
Best for: a raster logo, when you cannot get a vector version.
Figma cannot recolour image pixels. What it can do is composite a rectangle over the image with a blend mode. For white specifically, Screen is the mode you want: it lightens everything toward the rectangle's colour and leaves nothing darker than it, so a black mark under a white Screen rectangle turns white.
Wrap the image in a frame with Clip content on
Select the image,
⌘⌥G/Ctrl+Alt+G, then tick Clip content in the frame's properties.Draw a white rectangle over it, inside the frame
It must sit above the image in the layers list and inside the same frame. Fill
FFFFFF.Set the blend mode to Screen
In the Layer section at the top of the right panel. The logo turns white; the transparent areas stay transparent.
Verify against dark, then against a photo
Screen composites against whatever is beneath the whole frame, so the result is context-dependent in a way a real white PNG is not.
Exporting a white logo without losing it
PNG, and check transparency. Export the frame at 2x as PNG. If you exported the rectangle-and-image construction, confirm the surrounding area is actually transparent and not white — a white logo on a white background is a file that looks empty in every preview you will ever open it in.
Name it so it survives. logo-white.png sitting next to logo.png in a folder is the difference between having a variant set and rediscovering this problem in three months. If you are building the set properly, a brand-ready logo pack covers what else you will be asked for.
Preview against dark. Figma's own file browser shows PNGs on white. So does macOS Finder, and so does every email client. Assume the file looks blank in every thumbnail you see and check it deliberately, once, on a dark rectangle in Figma.
What goes wrong
When Figma is the wrong tool for this
If the logo is vector and already in your Figma file, Method 2 is about as fast as this gets anywhere, and the fact that you can save the result as a component variant means the next person does not have to redo it. That is a real advantage over both Canva and Photoshop.
If you are opening Figma specifically to produce a white PNG from a raster logo, the calculus is different. You are building a three-layer blend-mode construction to approximate an operation that is, conceptually, "make every visible pixel white" — and the construction is not portable, does not work on a logo with light and dark parts, and has to be rebuilt for the black version.
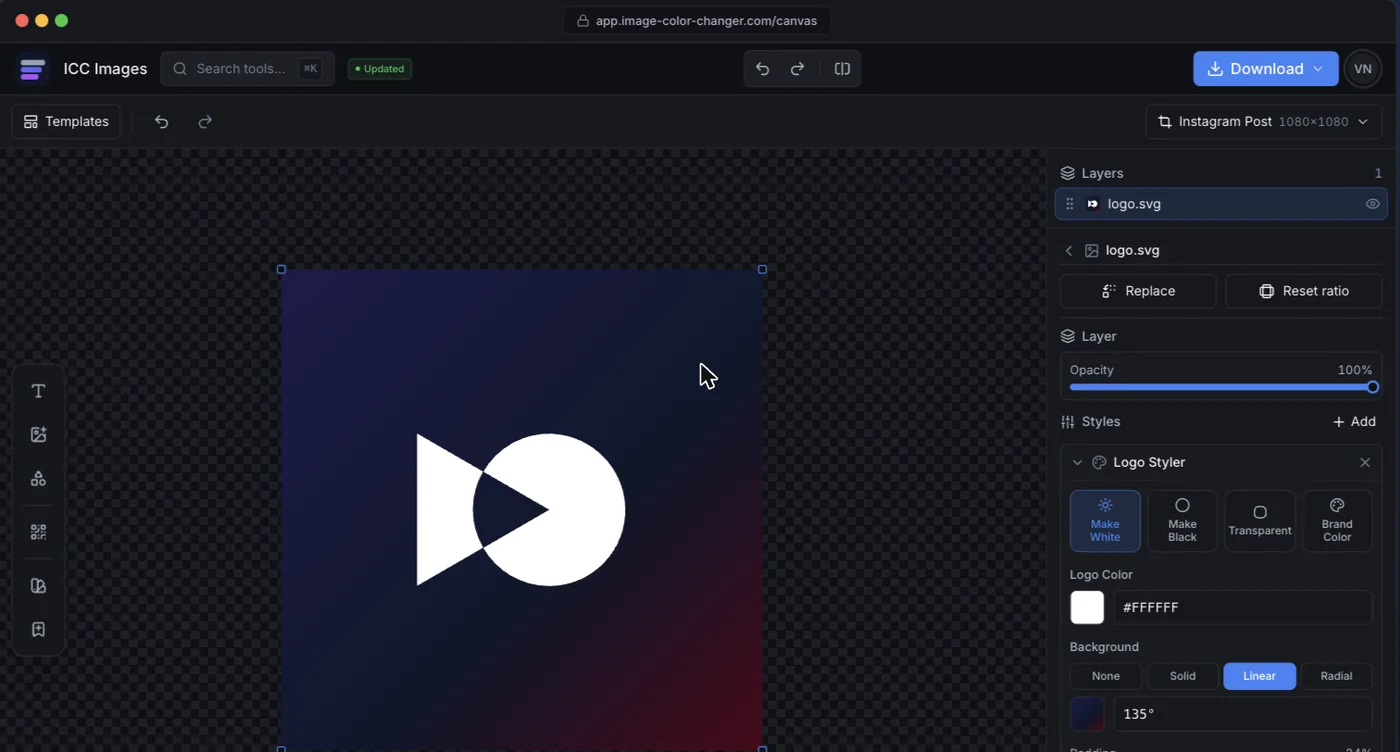
ICC Images has this as a single control. Upload the logo — raster is fine — and make it white, with transparency preserved and no blend-mode construction to maintain. Make it black is the button next to it, and logo to single colour covers the one-ink versions that embroidery and engraving ask for. Editing and previewing are free and need no account; a full-resolution download needs a free sign-in and spends credits.