How to Make a Duotone Image in Canva (Presets, Custom Hexes, and the Intensity Trap)
Canva's Duotone effect in full — where it hides, how to set custom highlight and shadow colors, why Intensity below 100 stops you hitting a brand hex, and what it does to a logo with a background.
Canva's Duotone is one of the few effects here that is genuinely easier than its Photoshop equivalent, and it has exactly one trap. The trap is a slider called Intensity, it defaults to something below 100, and while it is below 100 you are not getting your colours — you are getting a blend of your colours and the photo's original ones. Every "why is my duotone slightly off-brand" question traces back to it.
Duotone maps an image's brightness onto two colours. Dark pixels take the Shadows colour, light pixels take the Highlights colour, and everything between is interpolated. That single sentence explains both what it is good at — turning a busy photo into a clean two-colour graphic that matches your palette — and what it cannot do, which is treat two different colours of the same brightness differently.
Where it lives
Not in the Effects panel where you would expect. Select an image, click Edit image in the toolbar, and Duotone is in the list under the filters — Edit imageDuotone.
Select the image and open Edit image
One click on the photo, then Edit image in the toolbar above the canvas.
Apply a preset
Canva shows a row of named presets — Ocean, Sepia, Moss and so on. Click one to apply it. This is as far as most people get.
Click the same preset again to open its settings
This is the non-obvious step. A second click on an already-applied preset opens the Highlights and Shadows colour controls. There is no separate settings button.
Set both colours by hex
Click Highlights, then the
+in the colour panel, and type your hex. Repeat for Shadows. Use your brand's light tint for highlights and its dark tone for shadows — using the same brand colour for both gives you a flat single-colour image rather than a duotone.Push Intensity to 100
Read the next section before you decide otherwise.
The Intensity trap
Intensity is a blend slider between "the duotone" and "the original image". At 70, thirty percent of what you see is the photo's original colour. The result is a plausible-looking image whose colours are not the ones you typed.
This matters in two different ways depending on what you are doing:
If you are matching a brand palette, Intensity belongs at 100 and nowhere else. Anything less and the hex you sampled off the result will not equal the hex you entered, and it will not match the flat brand colour in the block of type beside it.
If you are treating it as a photo filter, a lower Intensity is a legitimate creative choice — it keeps some of the original colour and reads as a tint rather than a graphic treatment. Just know which one you are doing.
Choosing two colours that actually work
Duotone lives or dies on the tonal gap between the two stops.
Make them far apart in lightness. Two mid-tones — a mid-blue and a mid-green, say — produce a flat, muddy image because there is no range for the interpolation to work across. A dark shadow and a light highlight give you contrast.
Shadows dark, highlights light — usually. Inverting it (light shadows, dark highlights) produces a negative-looking image. Occasionally that is what you want; more often it is a mistake you have not noticed yet.
Start from your own palette, not the presets. If you already have brand colours, the dark one goes in Shadows and a light tint of the same hue goes in Highlights. If you do not, generating a palette from the image itself gives you two values that already belong together, and monochromatic palettes are the family duotone is happiest with.
Check the mid-tones. The interpolated middle is where duotone looks bad if the endpoints clash. A yellow-to-purple duotone passes through grey-brown, and faces in particular will look ill.
Using Duotone on a logo instead of a photo
This is the other reason people arrive at Duotone, and it works — with one hard prerequisite.
Set Highlights and Shadows to the same hex and the two-tone effect collapses into one flat colour. That is the standard Canva trick for recolouring a raster logo, and it is covered in full in our guide to changing a logo colour in Canva.
What goes wrong
When Canva is the wrong tool for this
For a single image inside a design you are making anyway, Canva's Duotone is the best version of this feature among the three tools we have written up. It is two clicks to a preset, the custom colours accept hex directly, and there is no layer stack to maintain — Photoshop makes you choose between a destructive mode change and a Gradient Map, and Figma has no duotone at all.
It stops being the right tool at exactly two points. The first is when the output needs to be a file rather than a design — the effect lives inside the document and the transparent export is behind a subscription. The second is repetition: a dozen photos through the same treatment is a dozen identical manual passes, because the effect cannot be saved, copied to another design, or applied to a selection of images at once.
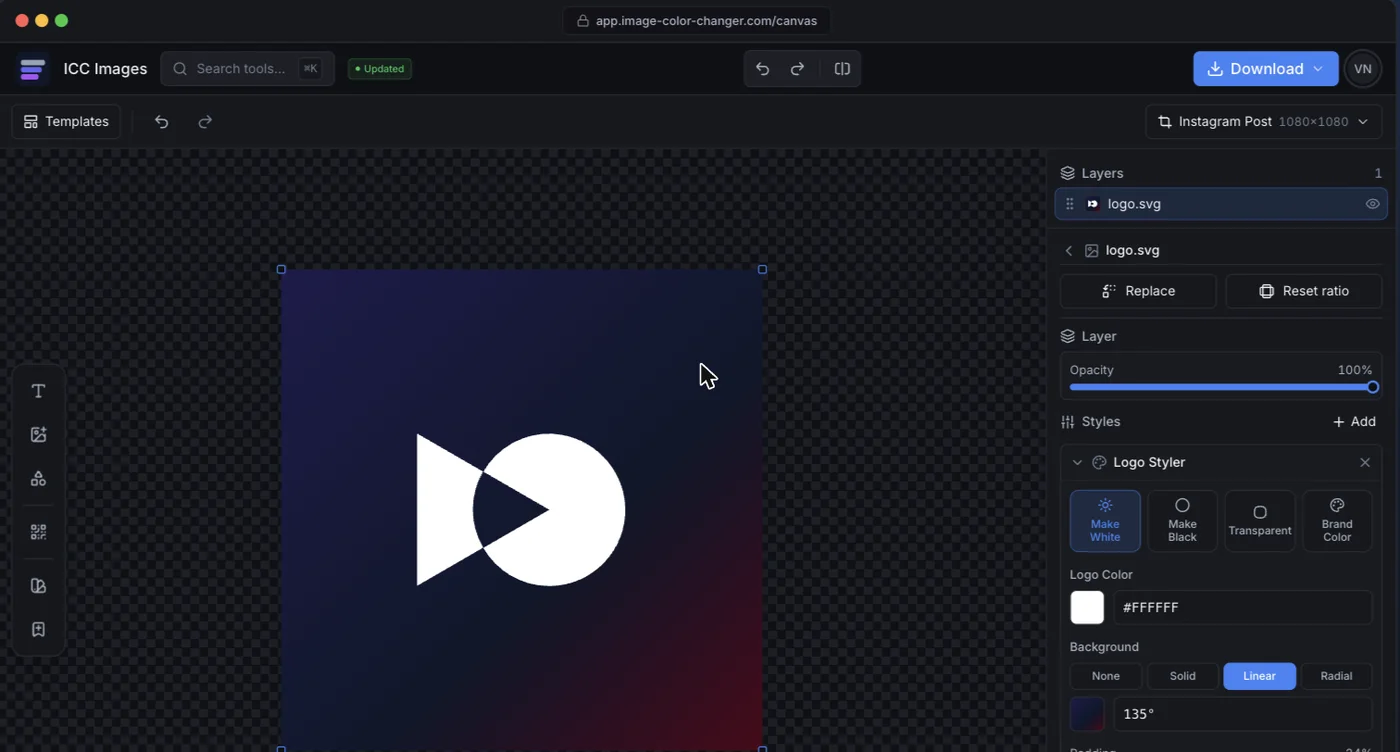
ICC Images treats it as a file operation. Upload the image, apply a duotone, set both stops by hex, and download the result — with transparency preserved when the source has it, and no plan gate on the export. Editing and previewing are free and need no account; a full-resolution download needs a free sign-in and spends credits.