How to Change a Logo Color in Figma (4 Methods, Step by Step)
A complete guide to recoloring a logo in Figma — the Fill row, the Selection colors panel that swaps one hex everywhere at once, the clipped-rectangle trick for placed PNGs, and why the export panel has no WebP.
Select your logo and look at the Fill row in the right-hand panel. If it shows a colour swatch and a six-digit hex, you are ninety seconds from finished. If it shows a small thumbnail and the word Image, you are in a different article — because Figma cannot recolour a bitmap, and no amount of clicking the colour picker will change that.
That one row is the whole decision tree. Figma is a vector editor that happens to display images; its entire colour model operates on layer fills, and a placed PNG has exactly one fill, which is the picture. Every method below is either "your logo is vector, here is the fast way" or "your logo is not vector, here is what is left".
If you have any say in it, read Method 2 before Method 1. Almost everyone with a real logo has more than one layer to change, and the Selection colors panel does in one edit what most people do fourteen times.
First: which of these two panels are you looking at?
Find your situation in the table before picking a method.
| What you have | What Figma sees | Best method |
|---|---|---|
| A logo drawn in Figma with the pen or shape tools | Vector layers with editable fills | Method 1 — the Fill row |
| A multi-layer logo, or a whole lockup | Several fills at once | Method 2 — Selection colors |
An .svg you dragged in | Vector layers, usually editable | Method 2, after one un-flattening step |
A .png or .jpg you dragged in | A single image fill | Method 3 — clipped rectangle |
| A logo inside a component or instance | Fills locked to the main component | Method 4 — component properties |
| A PNG where you want to change one colour of several | An image fill, no per-colour control | Not possible in Figma — see below |
Method 1 — The Fill row, for a single vector layer
Best for: a one-colour mark, or one shape inside a bigger logo.
Select the actual shape, not its frame
A single click selects the outermost frame or group. Hold
⌘(macOS) orCtrl(Windows) and click to reach straight through to the individual vector layer under the cursor — this is the shortcut that saves the most time in Figma and almost nobody uses it. Double-clicking works too; it just takes one level per click.Click the fill swatch
In the right sidebar, under Fill, click the coloured square. The colour picker opens.
Type the hex
At the bottom of the picker is a hex field. Type your six digits and press Enter. Do not drag around the colour field — you will land within a percent or two of the brand value, and a percent or two is visible the moment the correct version sits next to it.
Check the opacity next to it
The percentage to the right of the hex is the fill's opacity. A layer at 90% with the right hex renders as the wrong colour. If you are matching a brand value, this reads 100%.
Method 2 — Selection colors, for a logo made of more than one layer
Best for: any real logo. A mark plus a wordmark plus a tagline is three layers minimum, and usually a lot more.
This is the method worth knowing. Select a group, a frame, or several layers at once, and a Selection colors section appears at the top of the right panel listing every distinct colour inside the selection, once each. Edit an entry and every layer using that colour updates together.
Select the whole logo, not a layer inside it
One click on the outer frame or group is correct here. Selection colors only appears when the selection contains more than one layer — select a single shape and it collapses back into an ordinary Fill row, which is why people who always drill in have never seen it.
Read the list
Each row is one colour and shows how many layers use it. This doubles as an audit: a logo that should have three colours and lists nine has drifted, usually from copy-pasting shapes between files over the years.
Click the swatch you want to change
The picker opens exactly as in Method 1. Type the new hex.
Watch the count, not the canvas
If the row said "12 layers" and only part of the logo changed, some layers were using a near-identical colour that occupies its own row. Zoom the list, not the artwork — near-duplicates are obvious in a list of hexes and invisible on screen.
Method 3 — A clipped rectangle, for a placed PNG
Best for: a raster logo you cannot get as a vector, when the whole mark should become one colour.
Figma has no image-recolour feature. What it has is blend modes, and you can use one to push colour onto the pixels of a layer beneath. The result is a tint composited from two layers, not a recoloured file — which matters more than it sounds, so read the caveat after the steps.
Wrap the image in a frame
Select the image and press
⌘⌥G/Ctrl+Alt+Gto wrap it in a frame. In the frame's properties, tick Clip content. Without this the rectangle you are about to draw will spill past the logo.Draw a rectangle over the logo, inside the frame
Press
R, drag a rectangle that fully covers the image, and check the layers list: it must sit above the image and inside the same frame. This is the step people get wrong, and the symptom is a solid coloured block where the logo used to be.Give the rectangle your brand colour
Fill row, hex field, exactly as Method 1.
Set the blend mode
With the rectangle selected, open the Layer section at the top of the right panel — the dropdown reads Pass through or Normal. Choose Color to keep the logo's light and shade while replacing its hue. For a mark that is pure black, Screen gives a cleaner result; for pure white on a dark background, use Multiply.
Method 4 — Component properties, when the logo is an instance
Best for: a design system where the logo is a published component and the Fill row is greyed out.
If your logo lives in a library, instances of it do not expose their internal fills — that is the point of a component. You have three routes, in order of how much you should prefer them.
Check for a colour property first
Select the instance and look for a swap or colour property in the right panel. A well-built logo component exposes its variants — mono, full colour, inverted — as a property, and this is a one-click change that stays connected to the library.
If there is none, edit the main component
Right-click the instance and choose Go to main component. Change the fill there and every instance in every file updates. This is correct when the colour was simply wrong; it is wrong when you need a one-off variant.
For a one-off, detach — knowingly
⌘⌥B/Ctrl+Alt+Bdetaches the instance and gives you plain editable layers. It also permanently severs the link to the library, so future logo updates will not reach this copy. Detach when you are producing an export, not when you are building a screen.
Getting the exact brand colour, not "close enough"
Type the hex. Every colour control in Figma ends in a hex field. Dragging across the picker is for exploring, never for matching.
Use colour styles, not remembered values. A named style is the only mechanism here that survives someone else opening the file six months from now.
Beware the eyedropper on an edge. Figma's eyedropper (I) samples exactly one pixel of rendered output. On an anti-aliased logo edge that pixel is a blend of the mark and whatever is behind it — a plausible-looking hex that is not your brand colour. Sample from the middle of a solid area, or pull the value out of the source file instead: our colour picker reads exact hexes from an uploaded logo, and logo colour scheme lists a whole mark's palette at once.
Check opacity and any effects. A layer at 100% fill inside a group at 80% opacity renders at 80%. Layer blur and drop shadows will also shift what the eyedropper reports.
Exporting without wrecking it
The format list is four items long. PNG, JPG, SVG, PDF. No WebP, no AVIF, and no quality slider on the JPG. If your logo is destined for a website, Figma cannot produce the format you actually want — you export a PNG and convert it afterwards.
Export at 2x, not 1x. The 1x / 2x / 3x control is a multiplier on the frame's pixel dimensions. Anything going onto a screen wants at least 2x, and it costs nothing but file size.
SVG export only helps if the layer was vector. Exporting a placed PNG as SVG produces the same bitmap wrapped in an <svg> tag: same resolution, same softness when scaled, larger file. Figma does not vectorise on export, and nothing in the dialog warns you.
A blend-mode recolour is not in the file. Method 3's result exists only as two layers interacting. Export the frame as a PNG and it is baked in; copy the image layer out on its own and the colour is gone.
What goes wrong
Seven things, in roughly the order we see them.
When Figma is the wrong tool for this
Figma is excellent at this job under one condition: your logo is already vector and already lives in a Figma file. Colour styles, components and Selection colors are genuinely better than anything Canva or Photoshop offers for keeping a palette consistent across a design system. If you are building product screens and the logo is one element among hundreds, recolour it there and do not think about it again.
The model breaks the moment the input is a raster file. There is no image recolour, no per-colour targeting, no background removal, and the export panel cannot produce a web format. What you get instead is a three-layer blend-mode construction that is not portable, not re-editable outside that file, and not the file you needed.
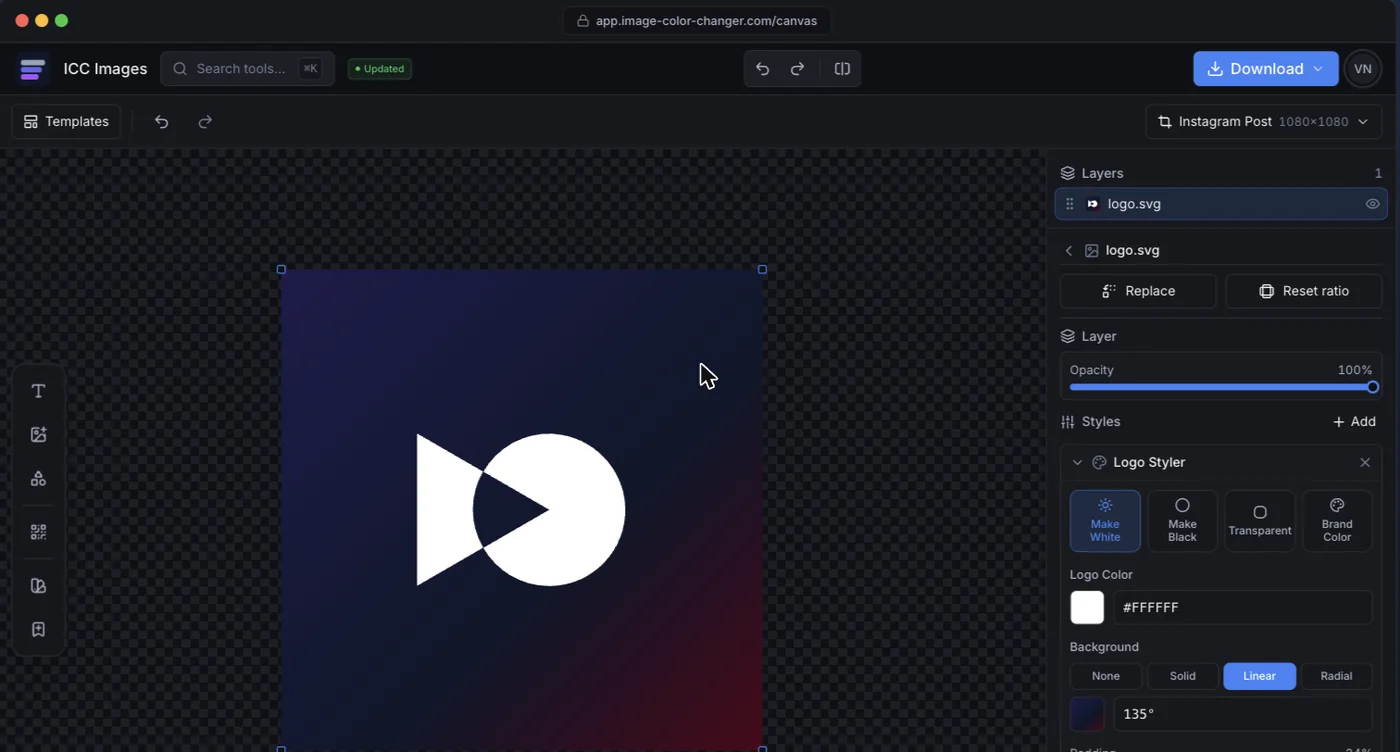
That is the gap ICC Images fills. Upload the logo — PNG included, no vector conversion required — pick a colour or make it white or black, and export with transparency intact. Editing and previewing are free and need no account; downloading a full-resolution file needs a free sign-in and spends credits, and AI operations like background removal are pay-per-use rather than a subscription.