How to Remove a Background in Figma (There Is No Built-In Way — Here Is What Works)
Figma has no background removal feature. The honest options are a third-party plugin that uploads your image to its vendor, or a hand-drawn vector mask — plus when each is actually the right call.
Figma cannot remove a background. There is no menu item, no property, no setting you have missed. This article exists because that fact is worth stating clearly and then working around, rather than leaving you to search the right panel for another ten minutes.
The reason is structural rather than an oversight. Figma is a vector editor; a placed bitmap is an opaque fill inside a shape, and Figma has no facility for inspecting or altering the pixels within it. Everything it offers on an image — exposure, contrast, saturation, temperature — is a uniform filter applied to the whole fill. None of it can distinguish a subject from what is behind it.
That leaves two genuine approaches and one that is often better than either.
| Your situation | What to do |
|---|---|
| A photo, and you need it cut out now | Option 1 — a plugin, with the caveats below |
| A simple geometric subject, or a shaped crop | Option 2 — a vector mask |
| Flat artwork or a logo on a solid colour | Option 3 — do it on the pixels, outside Figma |
| Hair, fur, fine detail | Outside Figma. No plugin does this well |
| Client or confidential imagery | Read the plugin caveat before choosing |
Option 1 — A background-removal plugin
Best for: a photo, when staying inside Figma is worth more than the trade-offs.
Every background-removal plugin in the Figma community works the same way: it uploads your image to the plugin author's server, runs a model there, and sends back a cut-out. Figma is the interface; the removal happens somewhere else entirely.
Install one from the community
Search the Figma community for background removal. Prefer plugins with a visible publisher, a stated privacy policy, and a recent update date over whichever one ranks first.
Expect an account and a credit balance
Most require an API key from the vendor's own service, and most meter usage — a handful of free removals, then a paid tier. That is a second subscription on top of Figma, for a feature Figma does not have.
Select the image layer and run the plugin
The image must be a layer with an image fill, not a frame containing one. The plugin usually replaces the fill in place.
Check the result on a dark rectangle
Draw a
#111111rectangle behind it. Halo and fringing are invisible on Figma's light canvas and obvious on a dark one.
Option 2 — A vector mask
Best for: a geometric subject, a shaped crop, or a logo whose outline you are willing to trace.
This is not removal; it is hiding. But for a lot of real jobs — a photo in a circular badge, a product cropped to a rounded rectangle, a mark on a plain field — hiding is exactly the requirement, and it stays fully editable inside Figma with no upload and no plugin.
Draw the shape over the subject
An ellipse, a rectangle, or a pen path traced around the outline.
Pfor the pen if the shape is irregular.Select the shape and the image together
The shape must be above the image in the layers list — the topmost selected layer becomes the mask.
Apply the mask
⌃⌘M/Ctrl+Alt+M, or right-click → Use as mask. Everything outside the shape becomes transparent.Adjust either half independently
Click into the group to move or scale the image within the mask, or to reshape the mask itself. Both stay live.
Option 3 — Do it on the pixels, then place the result
Best for: most cases, honestly — and the only sensible answer for flat artwork.
Figma imports transparent PNGs perfectly. So the shortest reliable path is to remove the background where pixels can actually be read, then drag the result in.
Pick the operation that matches the artwork
For a photo, background removal detects the subject. For flat artwork — a logo, an icon, a screenshot on a solid field — making a colour transparent is the better tool: it tests each pixel against a hex rather than guessing at a subject, which gives an exact edge with no halo to fight. Making a logo transparent is the same operation aimed specifically at marks.
Check the edge before you bring it back
Zoom to 400% on the cut line. It is far easier to fix now than after the file is placed in six frames. Fixing blurry or fringed PNG edges covers the usual causes.
Drag the PNG into Figma
Transparency is preserved on import. The image is now a normal layer you can mask, blend and export like anything else — and it is a file you own, reusable in the next file and the next project.
Exporting the result
Export PNG, not JPG. JPG has no alpha channel and will fill your transparency with white.
Check the frame has no background fill. A frame with a white fill exports as white behind your cut-out. Select the frame and remove the fill.
A masked image exports flattened. Option 2's mask bakes in on export, which is fine — just know the exported PNG is not re-editable the way the Figma group is.
There is no WebP. Figma exports PNG, JPG, SVG and PDF only. A cut-out destined for a web page needs converting afterwards.
What goes wrong
When Figma is the wrong tool for this
There is not much to weigh here, because Figma does not offer the capability at all. What it offers is a place to install someone else's, or a masking system that works well for geometric shapes and not otherwise.
Where Figma genuinely wins is after the cut-out exists: masking it into a layout, sizing it to a frame, exporting it at 2x and 3x, keeping it as a component. Those are real strengths. Removing the background is simply not one of them, and treating it as a step that happens before the file reaches Figma will save you a plugin subscription and an upload you did not intend to make.
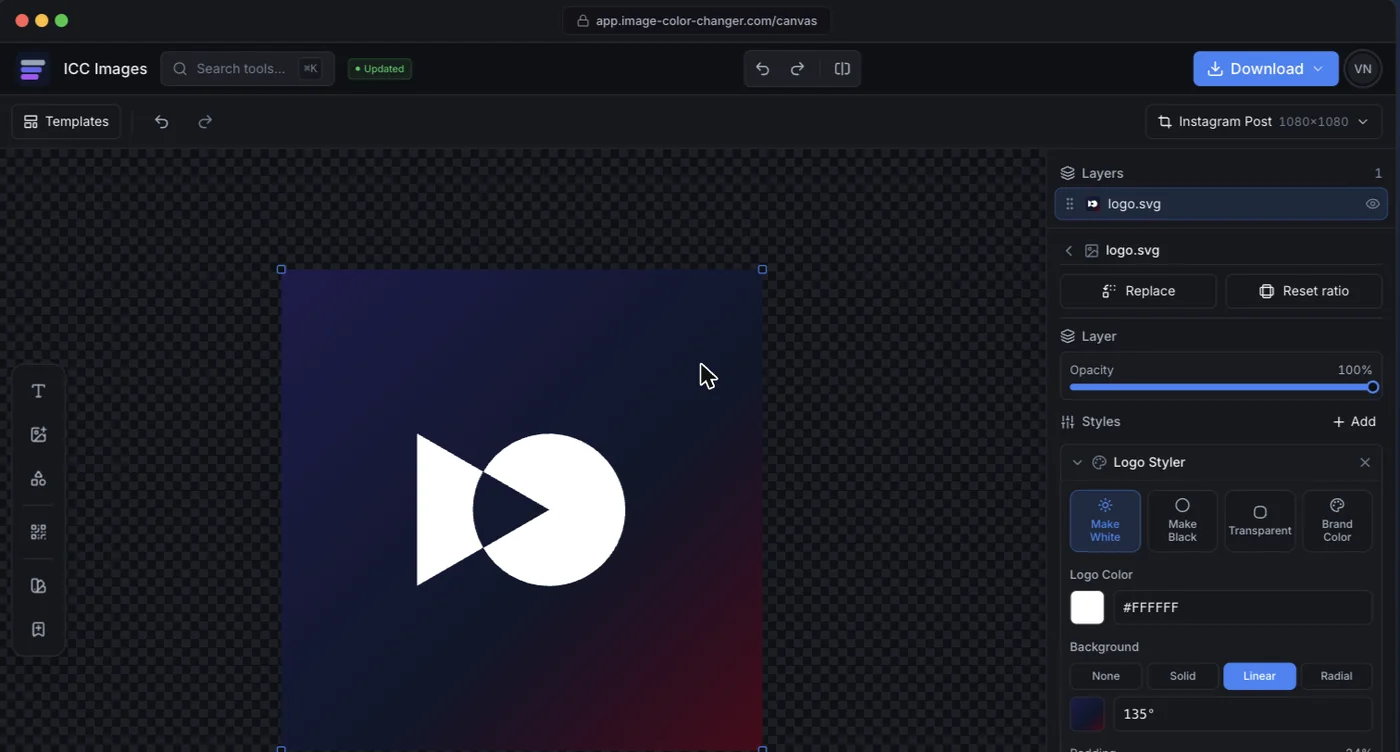
ICC Images does the part Figma cannot. Remove a background from a photo, or for flat artwork make a colour transparent for an exact edge with no halo. The output is a transparent PNG you drag straight into Figma. Editing and previewing are free and need no account; a full-resolution download needs a free sign-in and spends credits, and AI removal is pay-per-use rather than another monthly subscription on top of the one you already have.